
A caravan insurance repair follows a simple sequence: you make the van safe, record the damage and notify your insurer. Then a repairer assesses the damage and sends a quote to the insurer. Once the insurer approves it, parts are ordered, the repairs are completed, and your caravan is returned ready for the road. Knowing each step helps you avoid delays and get your van back sooner.
Key Takeaways
- Notify your insurer as soon as possible after the damage. This step is always the owner’s responsibility.
- Take clear photos of the damage, the scene and any other vehicles before anything is moved or repaired.
- The repairer assesses and photographs the damage, then prepares a quote for your insurance company.
- Repairs start only after the insurer approves the quote.
This guide walks you through the full caravan insurance repair process, from the moment damage happens to the day you collect your repaired van. It covers what you need to do, what the repairer and insurer do, and how to keep your claim moving. See caravan insurance repairs at Focus RV for how the process works in Melbourne.
What Is a Caravan Insurance Repair?
A caravan insurance repair is a repair paid for, in whole or in part, by your insurer after an insured event such as an accident, storm, hail or theft. Instead of paying the full cost yourself, you lodge a claim and the insurer approves and funds the repair, minus any excess.
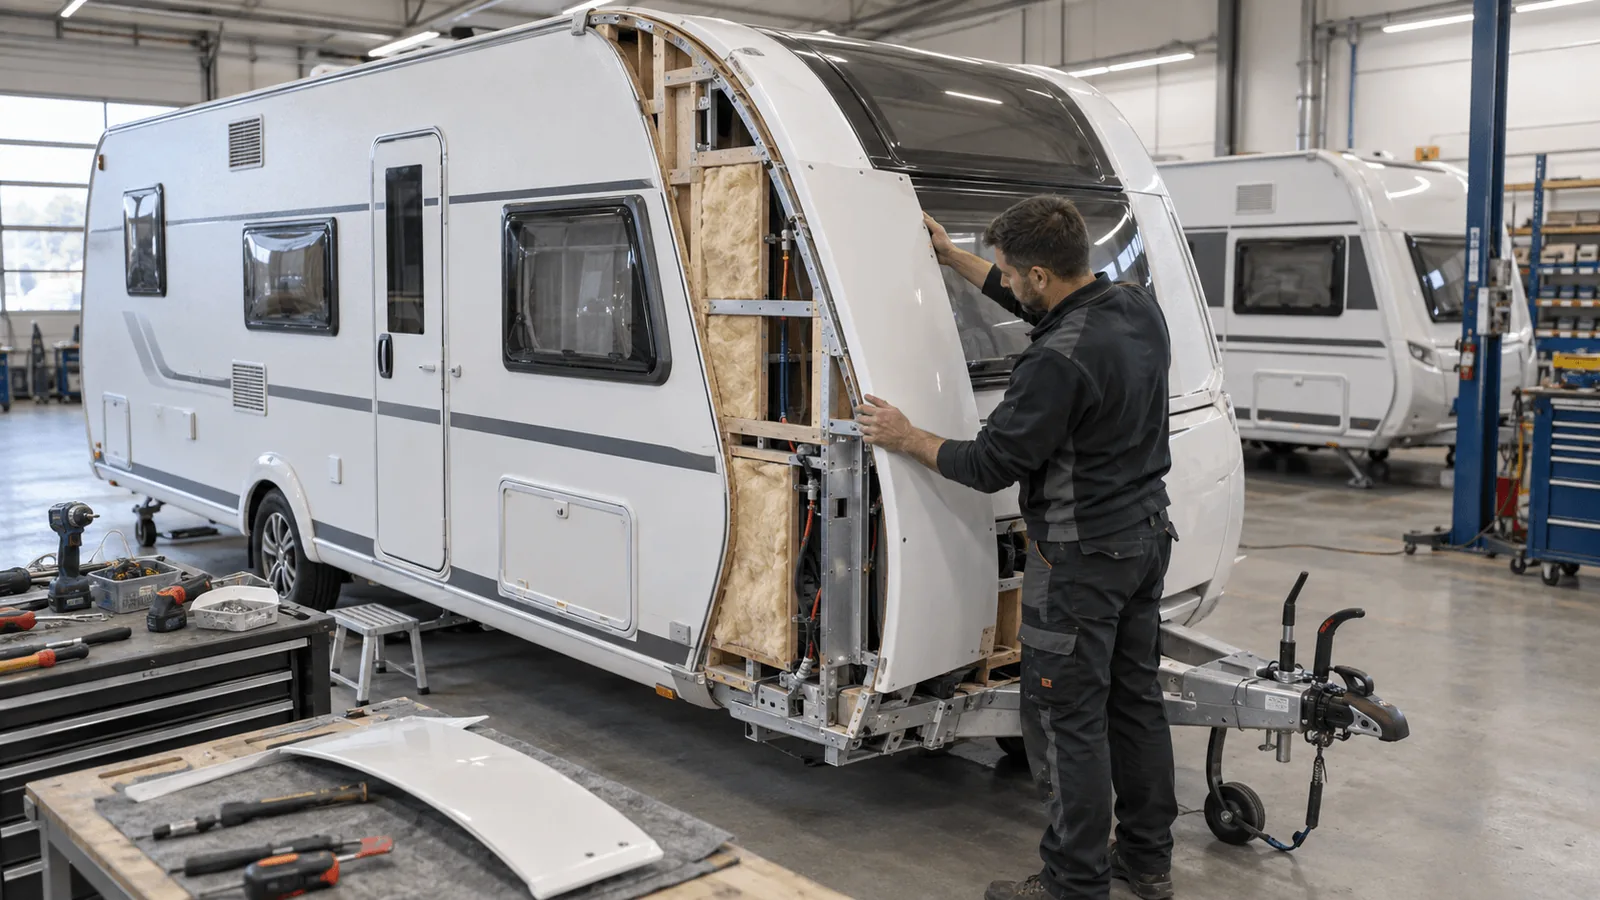
The repair itself is carried out by a caravan repair specialist. The repairer assesses the damage, quotes the work to your insurer and completes the repairs once they are approved. Experience with caravans matters here, because their construction, chassis, electrics and gas systems are very different from those of a car.
Your Role vs the Repairer’s Role at a Glance
| Your Role | Repairer’s Role |
|---|---|
|
|
The Caravan Insurance Repair Process, Step by Step
Most caravan insurance repairs follow the same eight steps. The exact process can vary slightly between insurers, so always follow any instructions your insurer gives you.
Step 1: Make Everything Safe
Your safety comes first. If the damage happened on the road, move to a safe spot if you can and check that everyone is okay. Call emergency services if anyone is injured.
If you smell gas, turn off the gas at the cylinder and keep away from flames. Disconnect power if the electrical system may be damaged. Don’t tow a caravan with damaged wheels, suspension, coupling or brakes.
Step 2: Record the Damage
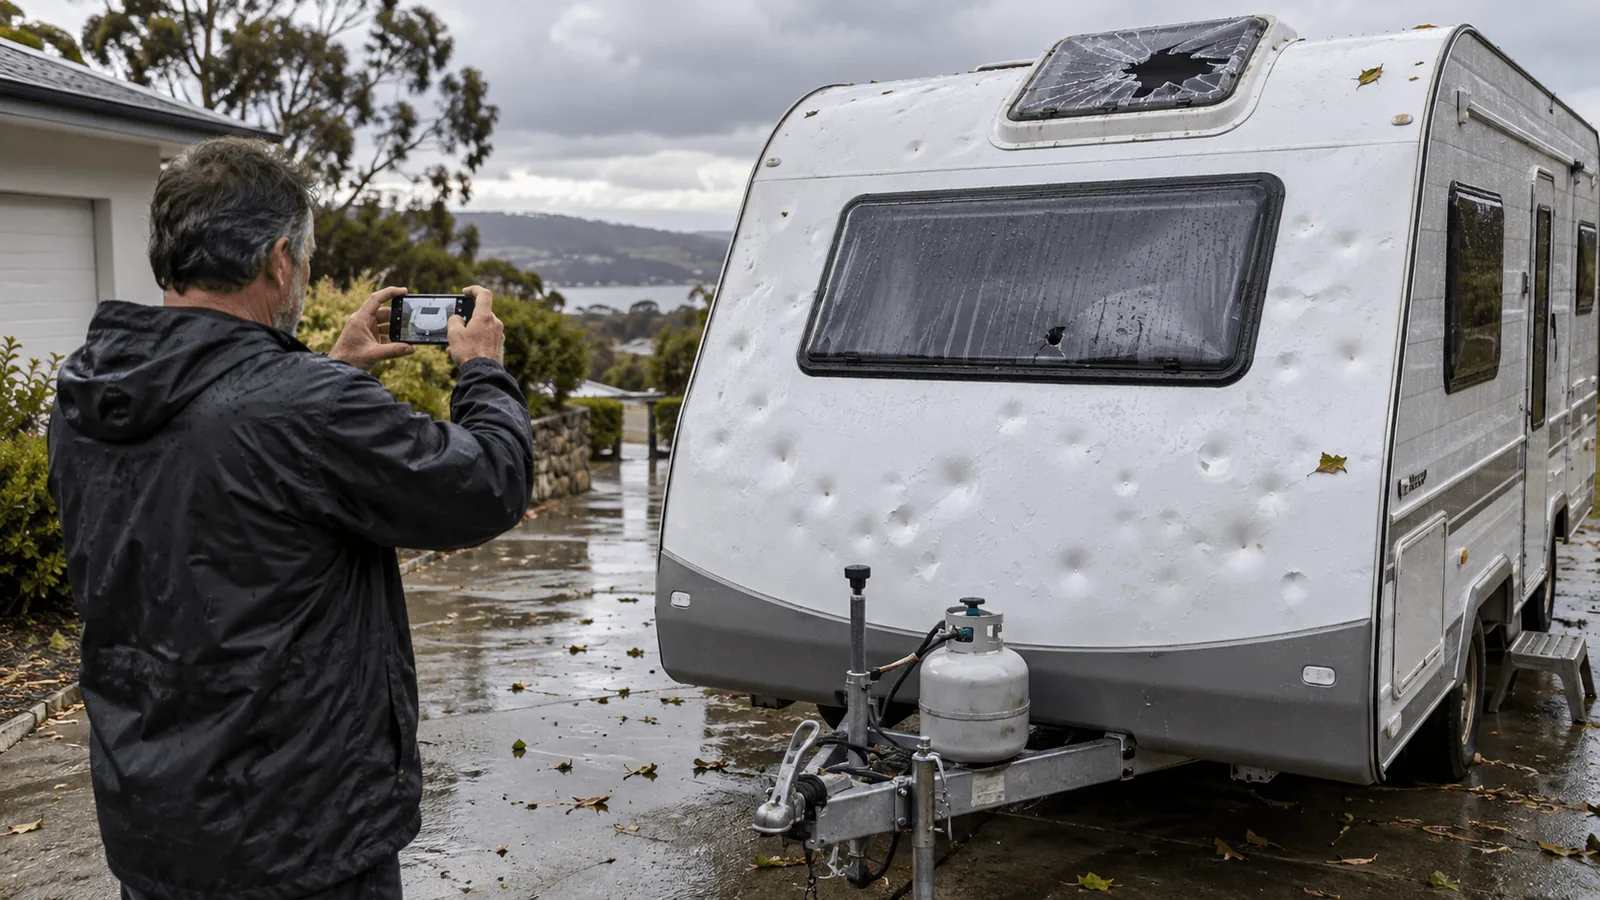
Before anything is moved, cleaned or repaired, take clear photos and videos of the damage from several angles, plus the wider scene. After a road accident, also record the other driver’s details, registration, insurer and any witness contacts.
💡 Tip: More photos are better. Photograph close-ups and wide shots, inside and outside the van. Include the date, location and weather conditions. Good records help your insurer assess the claim faster and reduce back-and-forth later.
Step 3: Notify Your Insurer
Contact your insurer as soon as possible to report the incident and lodge your claim. This is always the owner’s responsibility. The repairer cannot lodge the claim for you.
Have your policy number, photos and incident details ready. Your insurer will give you a claim number. Keep it handy, because your repairer will need it.
Step 4: Contact Your Repairer
Once your claim is lodged, contact a caravan repairer. Some policies let you nominate your own repairer, while others use an insurer-appointed repairer network. Check your product disclosure statement (PDS) or ask your insurer.
Choosing a specialist caravan repairer helps ensure the job is done properly, because caravans need specific knowledge of chassis, frames, wall panels, seals, gas and 12V systems.
Step 5: Damage Assessment and Quote
Who: Repairer. The repairer inspects the caravan, assesses and photographs the damage, and prepares a detailed quote for your insurance company. Hidden damage, such as a bent chassis or water entering through a cracked panel, is often found at this stage.
Step 6: Insurer Approval
Who: Insurer. The insurer reviews the quote and photos. For larger claims, it may send an assessor to inspect the van in person. Once the insurer approves the quote, the repair can go ahead. If extra damage is found during the repair, the repairer submits a supplementary quote for approval.
Don’t authorise repairs before your insurer approves the quote. Work done without approval may not be covered, leaving you to pay the cost yourself.
Step 7: Parts Ordered and Repairs Completed
Who: Repairer. Once the quote is approved, parts are ordered, and the repair is scheduled. Timing depends on parts availability, the extent of the damage and the workshop’s schedule. Your repairer should keep you updated along the way.
Step 8: Collect Your Caravan
Who: You. When the work is complete, the caravan is returned in working condition. Pay your excess if required, check the repairs with the repairer, and test the lights, brakes and any repaired systems before your next trip.
Caravan Insurance Repair Process Table
Use this table as a quick reference for who does what at each stage of a claim.
| Step | Who | What Happens |
|---|---|---|
| 1. Make safe | You | Check people are safe; isolate gas and power |
| 2. Record damage | You | Photos, videos, other party and witness details |
| 3. Notify insurer | You | Lodge claim, receive claim number |
| 4. Contact repairer | You | Book an assessment with your repairer |
| 5. Assess and quote | Repairer | Inspect, photograph, prepare quote for insurer |
| 6. Approval | Insurer | Review quote, may send an assessor, approve work |
| 7. Repairs | Repairer | Order parts, schedule and complete repairs |
| 8. Collection | You | Pay excess, inspect work, collect caravan |
Common Types of Caravan Damage Repaired Through Insurance
Coverage depends on your policy, but these are some of the most common reasons caravan owners make an insurance claim.
| Damage Type | Typical Repairs |
|---|---|
| Road accidents | Wall and corner panels, chassis, drawbar, suspension, lights |
| Hail | Dented walls and roof, cracked hatches, skylights and windows |
| Storms and fallen trees | Roof, awning, wall panels, windows |
| Wind | Torn or bent awnings, damaged roll-out awning arms |
| Theft and break-ins | Doors, locks, windows, stolen accessories |
| Reversing and parking bumps | Rear panels, bumpers, lights, corners |
Wear and tear, gradual water leaks and mechanical breakdowns are commonly excluded from insurance cover. These are usually handled as a standard caravan repair or, for newer vans, a warranty repair. Damaged awnings can be replaced with new caravan awnings.
Insurance Repairs vs Warranty Repairs
An insurance repair fixes damage from an insured event, such as an accident or storm. A warranty repair fixes a manufacturing fault in a newer caravan. Knowing which applies saves time when you call for help.
| Factor | Insurance Repair | Warranty Repair |
|---|---|---|
| Cause | Accident, storm, hail, theft | Manufacturing defect |
| Who pays | Insurer, minus your excess | Manufacturer |
| Who you contact first | Your insurer | Your dealer or manufacturer |
| Excess payable | Usually yes | No |
| Approval needed | Insurer approves quote | Manufacturer approves claim |
How Long Do Caravan Insurance Repairs Take?
Timeframes vary widely. Minor repairs may be completed quickly once approved, while major structural repairs can take much longer. The main factors are:
- How quickly the claim is lodged and the quote is approved
- Whether an assessor needs to inspect the van
- Parts availability, especially for imported or discontinued models
- The extent of the damage, including hidden damage found during repairs
- The workshop’s schedule during busy periods such as after a major hailstorm
Lodging your claim early, supplying good photos and responding quickly to your insurer all help shorten the timeline.
Can You Upgrade Your Caravan During an Insurance Repair?
Yes, in many cases. If your caravan is already in the workshop, it can be a good time to add upgrades such as new upholstery, solar panels or a battery management system.
Upgrades are not covered by insurance, so they are quoted and paid for separately. Ask your repairer about combining the work, or explore caravan and RV refurbishments.
What to Expect From a Good Insurance Repairer
Choose a repairer that specialises in caravans, works with your insurer, communicates clearly and follows the insurer’s recommended process. A good repairer handles the quote and paperwork with your insurer, keeps you updated, and returns your caravan safe and ready for the road.
Caravan Insurance Repairs at Focus RV
Focus RV is a Melbourne caravan and RV repair specialist in Campbellfield. The team says it has “restored all sorts of damage through our insurance repairs, with experience working across all caravan makes and models,” and that it will “stick to the recommended process to facilitate a smooth and stress-free claims experience.”
Focus RV works with a range of leading insurers, including:
| Insurance Partners |
|---|
| CIL |
| RACV |
| Rentsure |
| AAMI |
| Allianz |
| APIA |
Explore insurance repairs, caravan repairs in Melbourne, RV repairs, motorhome repairs and caravan servicing, or read the Focus RV FAQs.